
What Makeup Should You Start With? A Beginner's Guide
 Aug, 30 2026
Beginner Makeup Starter Kit Builder
Stop guessing what to buy. Answer three quick questions to build your personalized non-negotiable starter kit.
1. What is your primary skin concern?
2. How much time do you have in the morning?
3. What is your eye preference?
1. The Base
Tinted Moisturizer
Hydrates and provides light coverage. Looks like real skin.
2. The Spot Corrector
Creamy Concealer
One shade lighter than foundation for under-eyes. Matte match for pimples.
3. The Eye Opener
Brown Mascara
Start with a clump-free silicone wand. Curl lashes first!
4. The Face Finisher
Tinted Lip Balm
Nude or soft pink. Hard to mess up, keeps lips hydrated.
Your 5-Minute Morning Routine
You just walked into a drugstore or scrolled through an online beauty retailer, and suddenly you're paralyzed. There are hundreds of tubes, pans, and bottles staring back at you. Do you need a primer? Is concealer different from foundation? What on earth is a setting spray, and do you actually need it before your first date or job interview?
Here is the truth: most people buy way too much stuff they never use because they try to copy full-glam looks seen on Instagram without understanding the basic building blocks. Beginner makeup isn't about having twenty brushes; it's about mastering three or four core products that actually improve your appearance while hiding flaws. If you skip the essentials and buy niche items like cream blushes or highlighters first, you'll likely end up with a drawer full of unused clutter.
The Core Four: Your Non-Negotiable Starter Kit
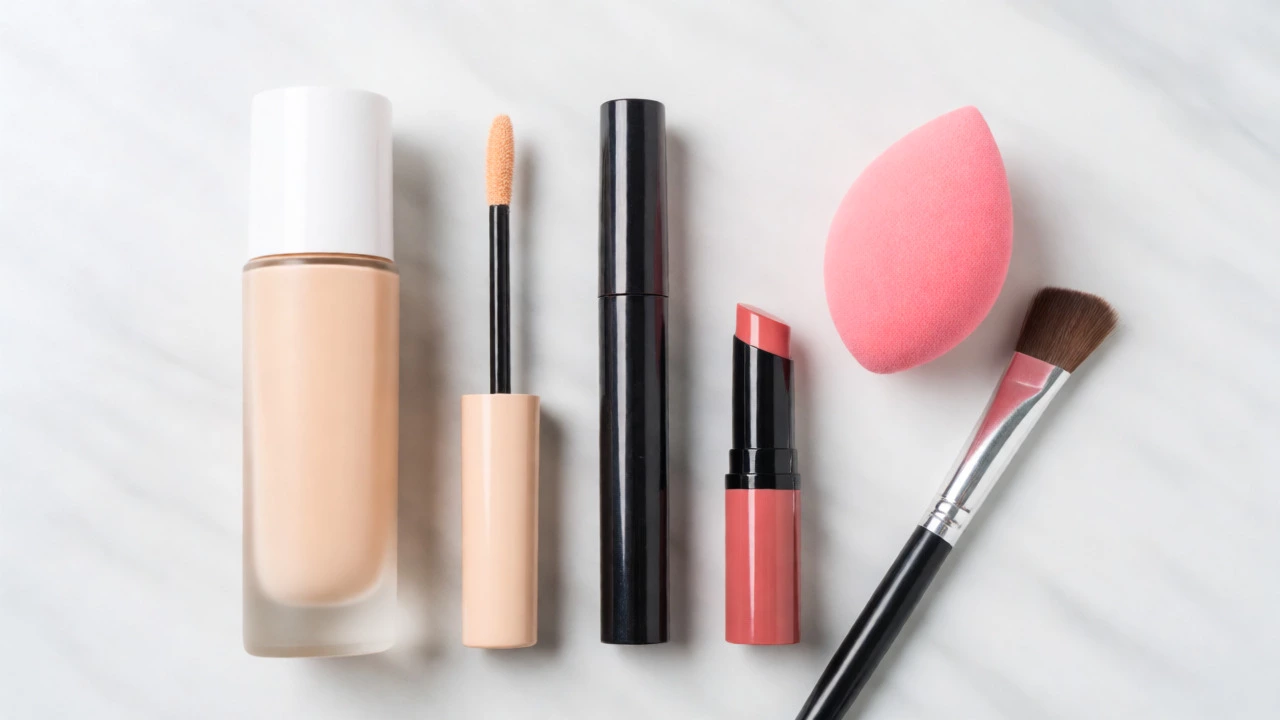
If you strip away the marketing hype, there are only four categories of products you truly need to start looking polished. Everything else is optional garnish. Think of these as the skeleton of your face; the rest is just decoration.
| Product | Purpose | Beginner Tip |
|---|---|---|
| Foundation/Tinted Moisturizer | Even out skin tone | Match to jawline, not hand |
| Concealer | Cover specific blemishes/dark circles | One shade lighter than foundation |
| Mascara | Define eyes instantly | Waterproof if you cry easily |
| Lip Product | Add color/life to face | Balm-tint hybrid is easiest |
1. The Base: Foundation vs. Tinted Moisturizer
This is where most beginners fail. They buy a foundation that is two shades too orange or applies a thick layer that looks like cake frosting. If your skin is generally clear, skip heavy liquid foundation entirely. Instead, grab a tinted moisturizer. It hydrates, provides light coverage, and looks like actual skin. It’s forgiving, easy to blend with fingers, and doesn’t settle into fine lines.
If you have acne scars or uneven texture you want to hide, opt for a medium-coverage liquid foundation. But here is the rule: less is more. Apply a tiny dot on your cheek and blend outward. You can always add more, but you can’t take it off without starting over. Always test the shade on your jawline in natural daylight, not under the harsh fluorescent lights of the store.
2. The Spot Corrector: Concealer
Don’t confuse concealer with foundation. Foundation covers everything; concealer covers specific things. Use it for dark circles under your eyes or active pimples. For under-eyes, choose a formula that is creamy and one shade lighter than your skin tone to brighten. For pimples, pick a matte formula that matches your skin exactly so it blends seamlessly once set.
A common mistake is applying concealer *after* foundation. Actually, for redness or blemishes, apply concealer first, then pat foundation over it. This prevents the concealer from sliding around and ensures better coverage with less product.
3. The Eye Opener: Mascara
If you buy nothing else, buy mascara. It makes you look awake, rested, and put-together in ten seconds flat. You don’t need eyeliner or eyeshadow yet. Just mascara.
Start with a brown mascara if you have fair hair or want a natural look; black is dramatic and high-contrast. Look for a "clump-free" wand-usually silicone rather than bristle-if you’re worried about spider legs. Curling your lashes before applying mascara makes a massive difference, opening up your eyes without needing any shadow.
4. The Face Finisher: Lip Balm or Tint
A bare face with pale lips can look washed out. You don’t need a bold red lipstick yet (that requires skill to apply neatly). Start with a tinted lip balm or a sheer gloss in a nude or soft pink shade. These are hard to mess up. You can swipe them on with your finger or straight from the tube. They keep your lips hydrated and add just enough color to make your whole face look healthier.
Tools: Keep It Simple
You do not need a $50 brush set. In fact, using too many tools can slow you down and make you feel incompetent. Here is what you actually need:
- Your Fingers: Warmth helps melt cream products into the skin. Use them for foundation, concealer, and cream blush.
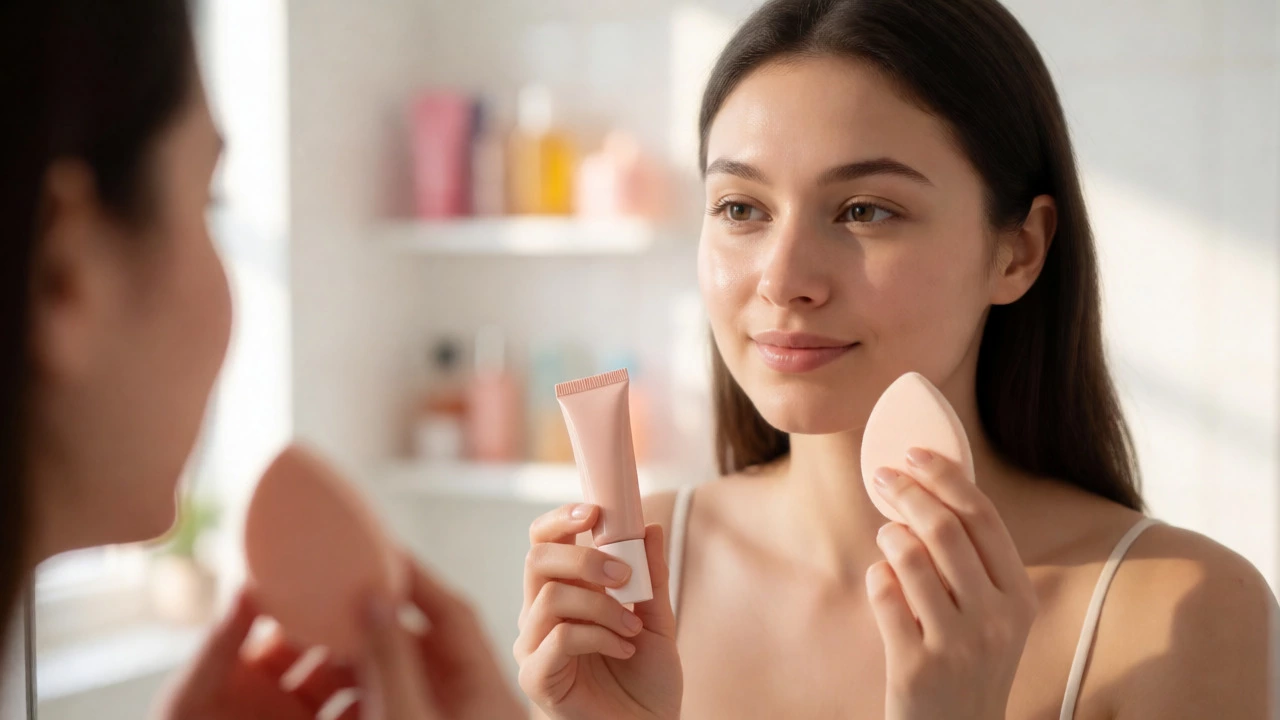
- One Beauty Sponge: A damp sponge gives a flawless, airbrushed finish to liquid foundation. It’s cheap and effective.
- One Angled Brush: Useful if you decide to add brow gel or powder later.
Skip the eye blending brushes for now. Without practice, they just smear pigment everywhere. Stick to the basics until you feel confident.
How to Build Your Routine Step-by-Step
Consistency beats complexity. Follow this simple order every morning. It takes five minutes max.
- Prep: Wash face, apply moisturizer, and sunscreen. Wait two minutes for it to absorb. Makeup slides off oily skin but sticks to hydrated skin.
- Base: Apply tinted moisturizer or foundation with a sponge. Focus on the center of the face where redness usually lives.
- Correct: Dab concealer on dark circles or spots. Blend gently with your ring finger (it has the lightest touch).
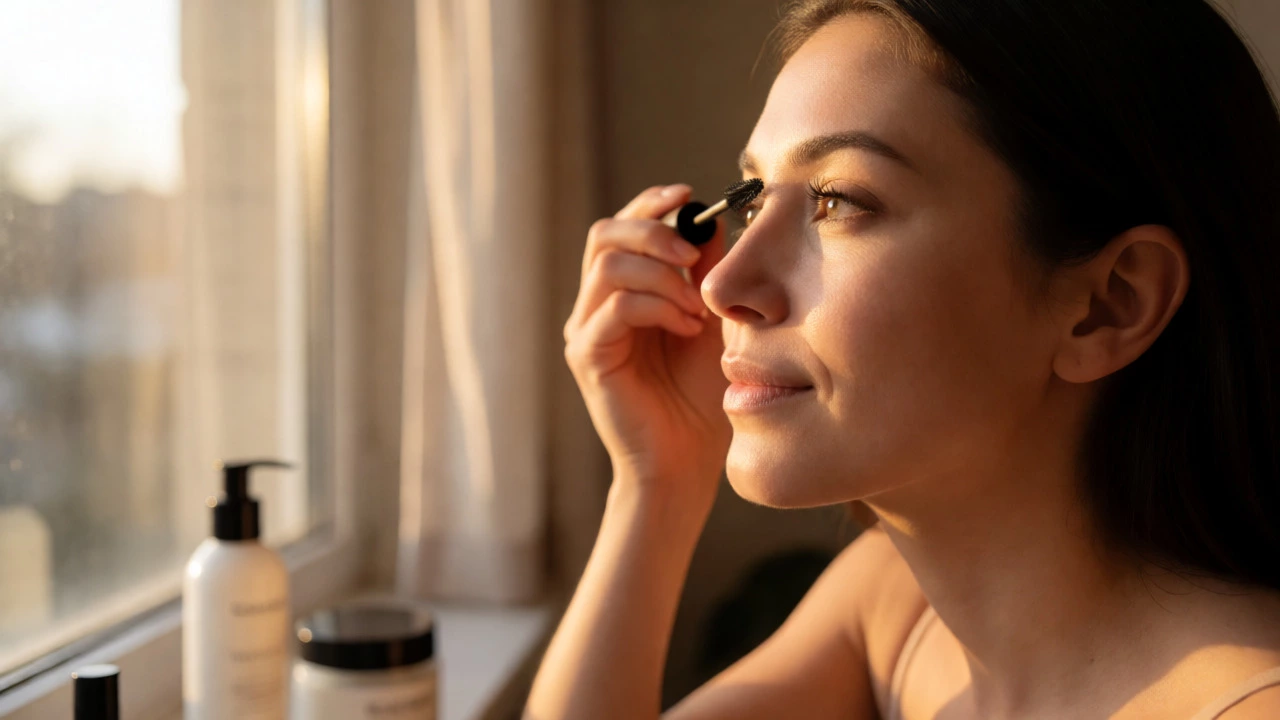
- Eyes: Curl lashes, apply one coat of mascara. Let it dry slightly, then add a second coat if needed.
- Lips: Swipe on tinted balm.
- Set (Optional): If you get shiny by noon, dust a little translucent powder on your T-zone (forehead, nose, chin). Otherwise, skip it.
Common Beginner Pitfalls to Avoid
I see these mistakes constantly when helping friends shop. Avoid them to save money and frustration.
Buying based on packaging, not performance. Pretty boxes don’t mean good formulas. Check reviews for wear time and ingredient lists. If you have sensitive skin, avoid fragrances.
Ignoring skincare. Makeup sits on top of your skin. If your skin is dry, flaky, or clogged, no amount of foundation will fix it. Invest in a good cleanser and moisturizer first. Healthy skin makes makeup look expensive; unhealthy skin makes even luxury makeup look cheap.
Over-applying. More product does not equal better coverage. It equals more creasing and cakiness. Start with half the amount you think you need. You can build coverage gradually.
Not cleaning tools. Dirty sponges breed bacteria and cause breakouts. Wash your beauty sponge weekly with soap and warm water. Replace it every three months.
When to Expand Your Kit
Once you’ve mastered the core four, you might notice gaps. Maybe your brows look sparse? Add a brow pencil or gel. Maybe your cheeks look flat? Add a cream blush-it’s easier to blend than powder for beginners. Maybe you want definition? Try a subtle bronzer.
But wait. Don’t buy these until you’ve used your starter kit for at least a month. If you still haven’t used your mascara regularly, you won’t use a contour palette either. Buy replacements, not novelties.
Do I really need primer?
For most beginners, no. Primer is designed to extend makeup wear or smooth texture issues. Unless you have very oily skin or large pores, a good moisturizer acts as sufficient prep. Save primer for when you understand how your skin reacts to different foundations.
Liquid or powder foundation for beginners?
Tinted moisturizers or lightweight liquids are usually easier for beginners because they blend naturally and look less obvious. Powder foundation can sit on top of dry patches and emphasize texture if not applied correctly. If you have oily skin, powder might work well, but start with a liquid for versatility.
How do I know my foundation shade?
Test three shades along your jawline, extending down to your neck. Walk outside into natural light. The right shade will disappear into your skin. The wrong ones will look either too orange (too yellow) or too gray (too pink/ashy). Never match to your hand; your face is darker than your hands due to sun exposure.
Can I use lip balm instead of lipstick?
Absolutely. Tinted lip balms provide hydration and a subtle wash of color without the precision required for traditional lipstick. They are low-maintenance and perfect for everyday wear. If you want more intensity later, you can layer a gloss or stain over the balm.
Is expensive makeup better for beginners?
Not necessarily. Many drugstore brands offer excellent quality formulas that rival luxury counters. As a beginner, you are learning application techniques, not testing premium ingredients. Spend your budget on products you will use daily (foundation, mascara) rather than splurging on niche items you might not like.