What Makeup Is Needed for a Natural Look: The Minimalist Routine
 Jun, 29 2026
Natural Makeup Routine Builder
Step 1: Your Profile
Your Custom Minimalist Kit
Select your skin type and concern above to generate your perfect natural look.
You wake up, check the mirror, and decide you need to go out. You don't have time for contouring maps or five layers of foundation. You just want to look like yourself-only slightly more polished. This is the holy grail of modern beauty: the "no-makeup" makeup look. But here is the catch. It is not about wearing less product; it is about wearing the right product. If you pile on heavy cream blush over unblended foundation, you won't look natural. You'll look like you tried too hard.
Achieving this effortless vibe requires a shift in strategy. We stop covering up and start enhancing. We prioritize texture over pigment. And we accept that your skin needs to do half the work. Let's break down exactly what you need in your bag to pull this off without looking like you skipped a step.
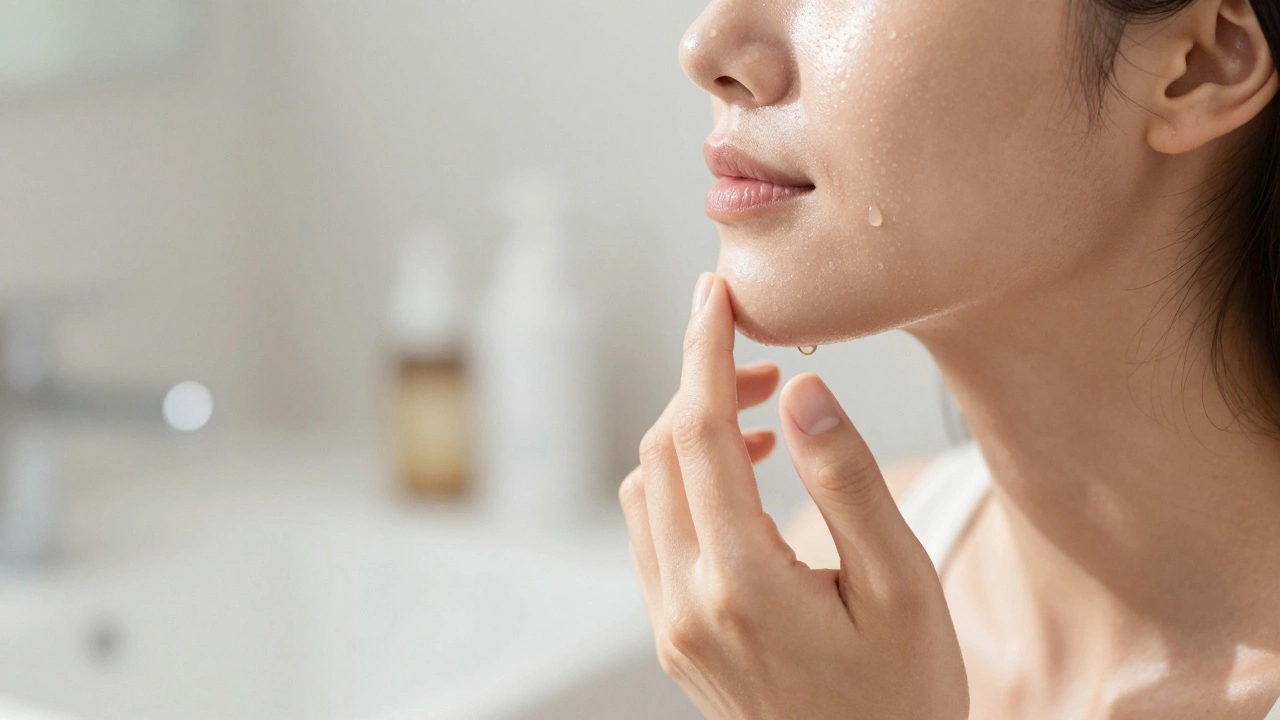
The Non-Negotiable Base: Skincare First
If you skip this part, nothing else matters. A natural look exposes every imperfection because there is no thick layer of silicone to hide them behind. Your canvas must be prepped. Think of skincare as the primer for your personality.
Start with hydration. Dehydrated skin looks cakey under even the lightest tint. Apply a lightweight moisturizer suited to your skin type. If you are oily, look for gel-based formulas. If you are dry, stick to creams with hyaluronic acid. Wait two minutes for it to sink in. Then, apply sunscreen. Yes, even if you aren't going outside for long. Sun damage causes uneven tone, which makes achieving a natural look harder later. Use a mineral sunscreen with zinc oxide if you want zero white cast, or a chemical one that absorbs quickly.
Here is a pro tip most tutorials miss: use a hydrating serum underneath your moisturizer if your skin feels tight. Ingredients like niacinamide can also help calm redness before you even touch a brush. When your skin is plump and hydrated, fine lines disappear, and your makeup glides on smoothly instead of clinging to dry patches.
Complexion: Less Coverage, More Correction
Forget full-coverage foundations. They mask your identity. For a natural look, you want to even out your skin tone while letting your freckles and natural texture show through. Here are your three best friends:
- Tinted Moisturizer A hybrid between skincare and makeup that offers sheer coverage and SPF. This is the easiest route. It evens out redness but doesn't create a "mask." Look for shades that match your neck, not your face, to avoid demarcation lines.
- Skin Tint Lighter than foundation but more pigmented than a moisturizer. These offer buildable coverage. You can dot it on areas where you need more opacity (like around the nose) and blend it thinly elsewhere.
- Color Corrector Pigments used to neutralize specific discolorations before base application. Instead of covering dark circles with beige concealer (which often creases), use a peach corrector. It cancels out blue tones so you only need a tiny bit of concealer on top.
Application technique is key here. Do not use a dense foundation brush. Use your fingers. The warmth of your hands melts the product into the skin, creating a second-skin finish. Blend outward from the center of your face toward your hairline. If you see streaks, you've applied too much. Wipe off excess with a damp sponge.
Cheeks: Cream Over Powder
Powder blush sits on top of the skin. It can look dusty or flat, especially in harsh lighting. Cream or liquid blushes melt into your base, mimicking the flush of blood flow under the skin. This is the secret to looking alive rather than painted.
Choose a shade that resembles your natural flush. For fair skin, think soft pinks or peaches. For medium skin, try coral or berry. For deep skin, opt for rich plum or terracotta. Apply it to the apples of your cheeks and blend upward toward your temples. Don't forget your nose and chin-a little color there ties the whole face together.
If you need a bit of definition, use a cream bronzer. Apply it only where the sun would hit: forehead, cheekbones, and jawline. Avoid harsh lines. The goal is warmth, not structure. A cream highlighter on the high points of your face (cheekbones, brow bone) adds a dewy glow that reads as healthy skin, not glitter.
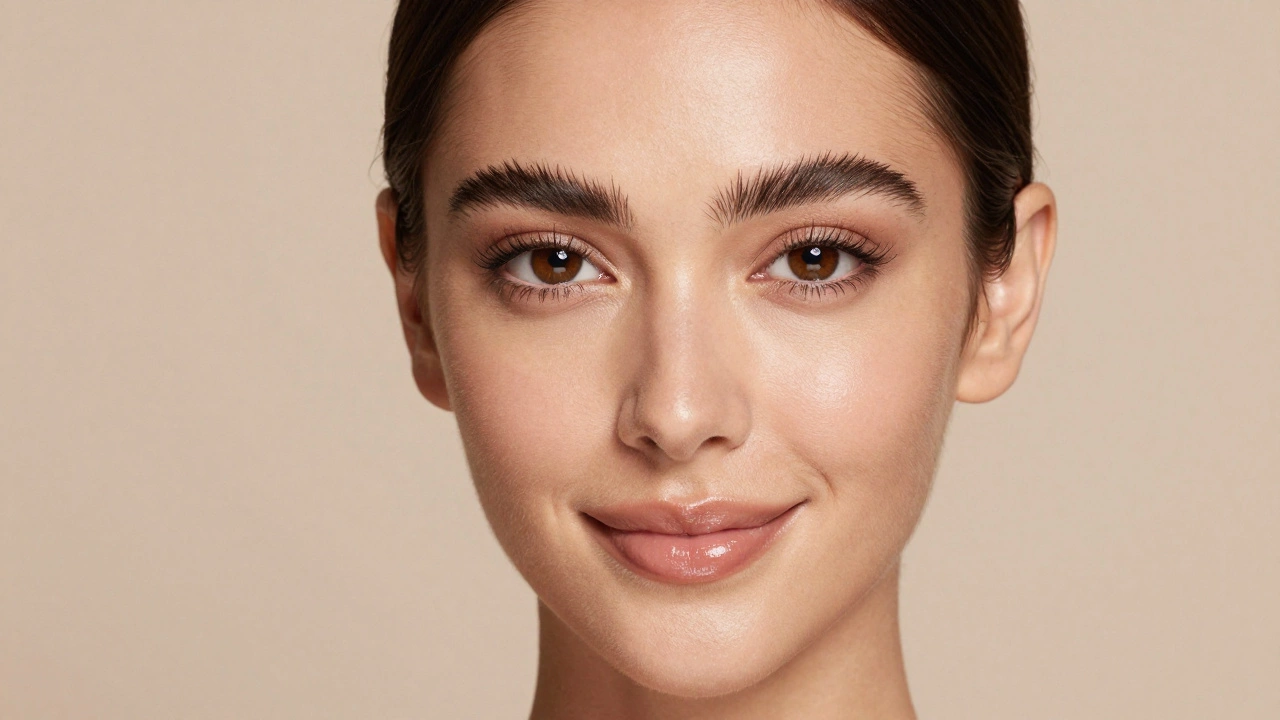
Eyes: Definition Without Drama
Natural eye makeup is about widening and brightening, not changing your eye shape. Heavy eyeliner and smoky shadows are out. Here is what stays in:
- Brow Gel Clear or tinted wax to set eyebrow hairs in place. Brush your brows upward. Clear gel works for most people. If your brows are sparse, a tinted gel adds subtle fill without the blocky look of pencil strokes.
- Brown Eyeliner Softer alternative to black liner for everyday wear. Black is too harsh for a natural look. Brown or gray softens the eyes. Tightline your upper waterline (between the lashes) for depth, and draw a thin line along the lash line. Smudge it slightly with a finger for a softer edge.
- Mascara Coat for eyelashes to add length and volume. Skip the volumizing wands that clump. Choose a lengthening formula. One coat is enough. Focus on the roots to lift the eyes. If you want extra openness, curl your lashes first. No mascara needed if your lashes are naturally long.
Skip eyeshadow entirely, or use a single matte shade close to your skin tone to smooth out any discoloration on the lids. Shimmer can look unnatural if not blended perfectly, so stick to matte for true subtlety.
Lips: Hydration and Hint of Color
Your lips should look kissable, not lacquered. Matte lipsticks are drying and emphasize cracks. Glossy finishes can look sticky. The sweet spot is a tinted balm or a satin-finish lipstick.
Apply a hydrating lip balm first. Let it sit for a minute. Blot away excess oil. Then, swipe on a tinted balm in a shade similar to your natural lip color. If you want more color, use a lip stain. It lasts longer and doesn't transfer onto cups. Line your lips with a nude pencil if you have asymmetry, but keep the line fuzzy. Sharp lines scream "makeup." Soft edges whisper "natural."">
Setting: The Dewy Dilemma
This is where most people ruin their natural look. They powder their entire face to set everything, turning their glow into chalk. Resist the urge.
Only set areas that get oily. Usually, this means the T-zone (forehead, nose, chin). Use a translucent setting powder and press it in with a puff, don't sweep it. Sweeping moves your foundation around. Pressing locks it in place.
For the rest of your face, use a setting spray. Look for one labeled "dewy" or "hydrating." Mists like these bind the makeup to the skin without adding weight. It helps everything meld together so you don't look like you have separate layers of products on your face.
| Feature | Natural Look | Full Glam |
|---|---|---|
| Base | Tinted Moisturizer / Skin Tint | Full Coverage Foundation |
| Cheeks | Cream Blush & Bronzer | Powder Contour & Highlight |
| Eyes | Brown Liner & Lengthening Mascara | Black Winged Liner & Volumizing Mascara |
| Lips | Tinted Balm / Satin Lipstick | Matte Liquid Lipstick |
| Finish | Dewy / Glowy | Matte / Velvety |
Common Mistakes to Avoid
Even with the right products, execution can go wrong. Here are the pitfalls that make "natural" look "fake":
- Ignoring Neck Tone: Your foundation must match your neck. If there's a line at your jaw, it's obvious. Test shades on your jawline in natural light.
- Over-Contouring: Subtle shading is okay. Harsh stripes are not. If you can see the product sitting on your skin, you've gone too far.
- Clashing Textures: Mixing heavy matte foundation with dewy cream blush creates separation. Stick to compatible finishes. Cream with cream. Powder with powder.
- Skipping Exfoliation: Dead skin cells make makeup pill and look gray. Exfoliate gently once or twice a week to ensure a smooth canvas.
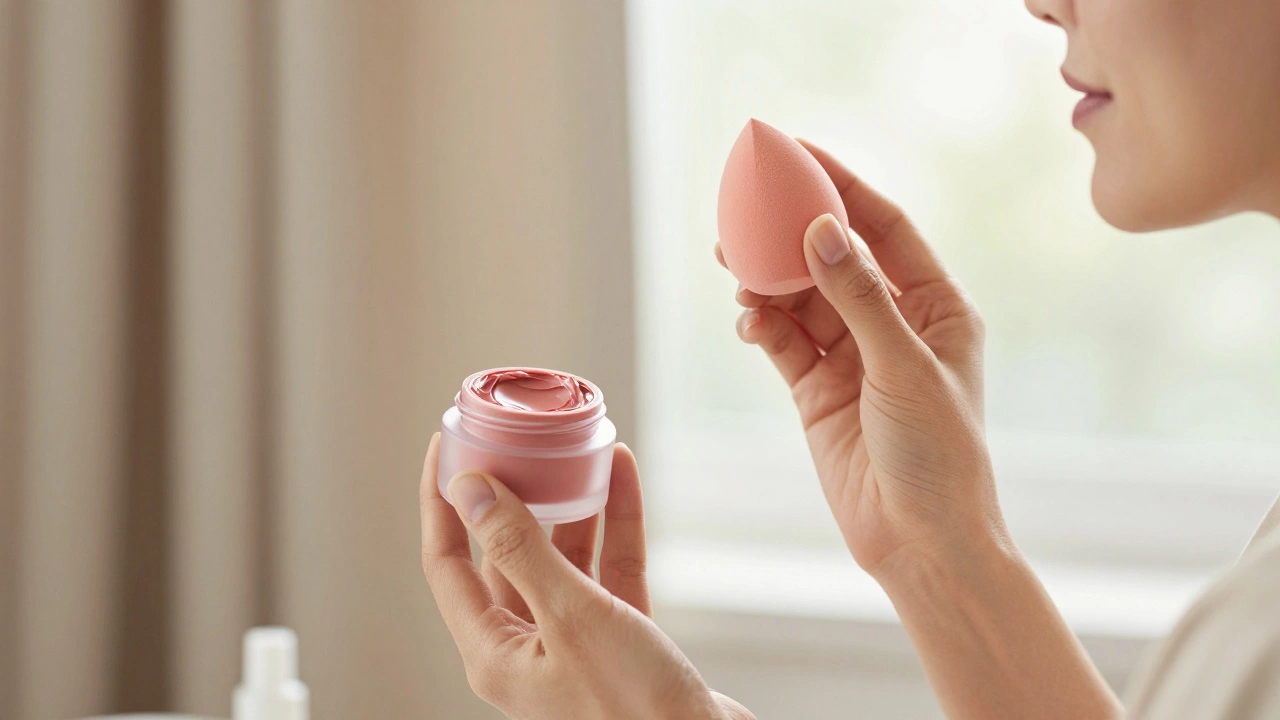
Tools You Actually Need
You don't need a vanity full of brushes. In fact, fewer tools often mean better results for a natural look. Here is the minimalist kit:
- Damp Beauty Sponge: For blending foundation and concealer seamlessly. It removes excess product, ensuring sheerness.
- Fingers: For applying cream blush, bronzer, and highlighter. The heat helps blend.
- Angled Brow Brush: For grooming brows. Clean it regularly to avoid buildup.
- Lash Curler: Opens up the eyes instantly. Replace the rubber pad every six months.
Invest in quality sponges. Cheap ones tear and absorb too much product. A good sponge lasts months and gives you control over coverage.
Adapting to Your Skin Type
One size does not fit all. Adjust your routine based on your skin's behavior:
Oily Skin: You might fear cream products will slide off. Start with a mattifying primer in the T-zone. Use a blotting paper midday instead of adding more powder. Oil-free tinted moisturizers exist and work wonders.
Dry Skin: Avoid powders altogether. Stick to liquids and creams. Add a facial oil drop into your foundation for extra glow. Hydrating mists throughout the day keep things fresh.
Combination Skin: The trickiest balance. Use cream products on cheeks and powder only on the nose and forehead. Customize your approach by zone, not by face.
The beauty of a natural look is its adaptability. It grows with you. As your skin changes with seasons or age, your product choices shift, but the philosophy remains: enhance, don't conceal. You are not hiding. You are highlighting. That confidence shines brighter than any highlighter ever could.
Can I wear mascara for a natural look?
Yes, but choose wisely. Skip thick, volumizing mascaras that clump. Opt for a lengthening formula in brown or black-brown. Apply one thin coat and focus on lifting the lashes rather than adding drama. Curling your lashes first can sometimes eliminate the need for mascara entirely.
What is the difference between a tinted moisturizer and a skin tint?
Tinted moisturizers prioritize skincare benefits with very sheer coverage. They feel like lotion. Skin tints offer slightly more pigment and coverage while still maintaining a lightweight feel. If you have significant redness or acne scars, a skin tint might be more effective. If your skin is mostly clear, a tinted moisturizer suffices.
How do I make my natural makeup last all day?
Prep is key. Hydrated skin holds makeup better. Use a setting spray designed for dewy finishes to lock in creams without matting them down. Blot excess oil during the day instead of adding powder, which can cake. Touch up with a cushion compact if needed, as it blends easily with existing skin texture.
Should I use concealer for a natural look?
Use it sparingly. Instead of masking entire under-eye areas, target specific dark spots or redness. Apply a small amount of concealer only where needed and blend the edges thoroughly. Using a color corrector underneath can reduce the amount of concealer required, preventing creasing.
Is powder necessary for a natural makeup routine?
Not everywhere. Full-face powder kills the natural glow. Only use translucent powder in areas prone to oiliness, like the nose and chin. Press it in gently. For the rest of your face, rely on setting sprays to maintain a fresh, dewy appearance without looking flat or dusty.