
What Is a Basic Makeup Kit? The Essential Starter Guide
 Sep, 17 2026
Build Your Perfect Basic Makeup Kit
Answer two quick questions to get a customized shopping list of essentials vs. optional upgrades.
Your Recommended Starter Kit
The Essentials (Must-Have)
Optional Upgrades (Add Later)
You’re standing in the aisle of a drugstore or scrolling through endless online carts, overwhelmed by thousands of shades, formulas, and tools. You just want to look polished for work or a date, but you don’t need a professional artist’s arsenal. That’s where the concept of a basic makeup kit comes in. It’s not about owning every product on the shelf; it’s about curating a small, high-impact collection that covers your daily needs without wasting money on things you’ll never use.
Think of this as your beauty survival pack. If you strip away the hype, marketing buzzwords, and limited-edition palettes, what do you actually need to enhance your features? We’ve broken down the non-negotiables into a simple, actionable list. Whether you’re a total novice or someone who wants to declutter their vanity, this guide will help you build a routine that works in under ten minutes.
Key Takeaways
- Skin Prep is Priority: A good base starts with moisturizer and primer, not foundation.
- The Core Four: Foundation (or tinted moisturizer), concealer, mascara, and brow gel are the absolute essentials.
- Multipurpose Products Save Money: Cream blushes can double as lip tints, reducing clutter.
- Tools Matter Less Than Technique: Your fingers and a single sponge are often enough for beginners.
- Shade Matching is Critical: Test products on your jawline, not your hand, to avoid color mismatches.
The Foundation of Your Face
Before you even touch a powder brush, you need to understand that makeup sits on top of your skin, not inside it. If your canvas isn’t prepped, everything looks patchy. Start with a lightweight moisturizer suitable for your skin type. Dry skin needs cream-based hydration, while oily skin benefits from gel formulations. Let it absorb for at least two minutes-this prevents pilling later.
Next, consider a primer. While not strictly mandatory for everyone, it creates a smooth barrier between your skincare and makeup, helping longevity. For a basic kit, skip the color-correcting primers unless you have specific redness or dullness issues. A clear or hydrating primer is versatile enough for any day.
Now, onto the main event: foundation. Here is where most beginners overcomplicate things. You do not need a full-coverage matte foundation if you prefer a natural look. In fact, a tinted moisturizer or BB cream is often better for a starter kit. These provide light coverage, let your freckles show, and feel like nothing on the face. If you do choose liquid foundation, opt for a medium-coverage formula with a satin finish. Matte formulas require flawless skin prep to look good, whereas satin finishes forgive minor texture imperfections.
Hiding Imperfections Without Hiding Yourself
Once your base is set, you’ll notice certain spots that still bother you-dark circles, a lingering blemish, or uneven pigmentation. This is where concealer does its heavy lifting. Unlike foundation, which evens out overall tone, concealer targets specific areas.
Pick one shade lighter than your foundation for under-eye circles to brighten them up. For blemishes, match the concealer exactly to your foundation shade. Apply it sparingly. The goal is to blur the edge of the imperfection, not paint over it with a thick layer of cake. Use your ring finger to tap the edges gently; the warmth of your skin helps blend the product seamlessly.
Framing the Eyes
Eyes are the focal point of the face, so they deserve attention. However, you don’t need a 12-color palette. A basic kit requires just three eye products: mascara, an eyebrow pencil or gel, and perhaps one neutral eyeshadow.
Mascara opens up the eyes instantly. Look for a tubing formula if you have sensitive eyes or wear contact lenses, as these remove easily with warm water and don’t smudge. Black is standard, but brown offers a softer, more daytime-appropriate look.
Your eyebrows frame your face. If they are sparse, a fine-tip brow pencil allows you to draw hair-like strokes rather than filling in a blocky shape. If you have fuller brows, a clear or tinted brow gel simply sets them in place. Tinted gels also add volume and definition without requiring artistic skill.
For eyeshadow, stick to one matte neutral shade-taupe or soft brown. Sweep it across the lid to add depth. Skip glitter and shimmer for now; they emphasize eyelid creases and can look messy if applied quickly in the morning.
Adding Life to Your Cheeks and Lips
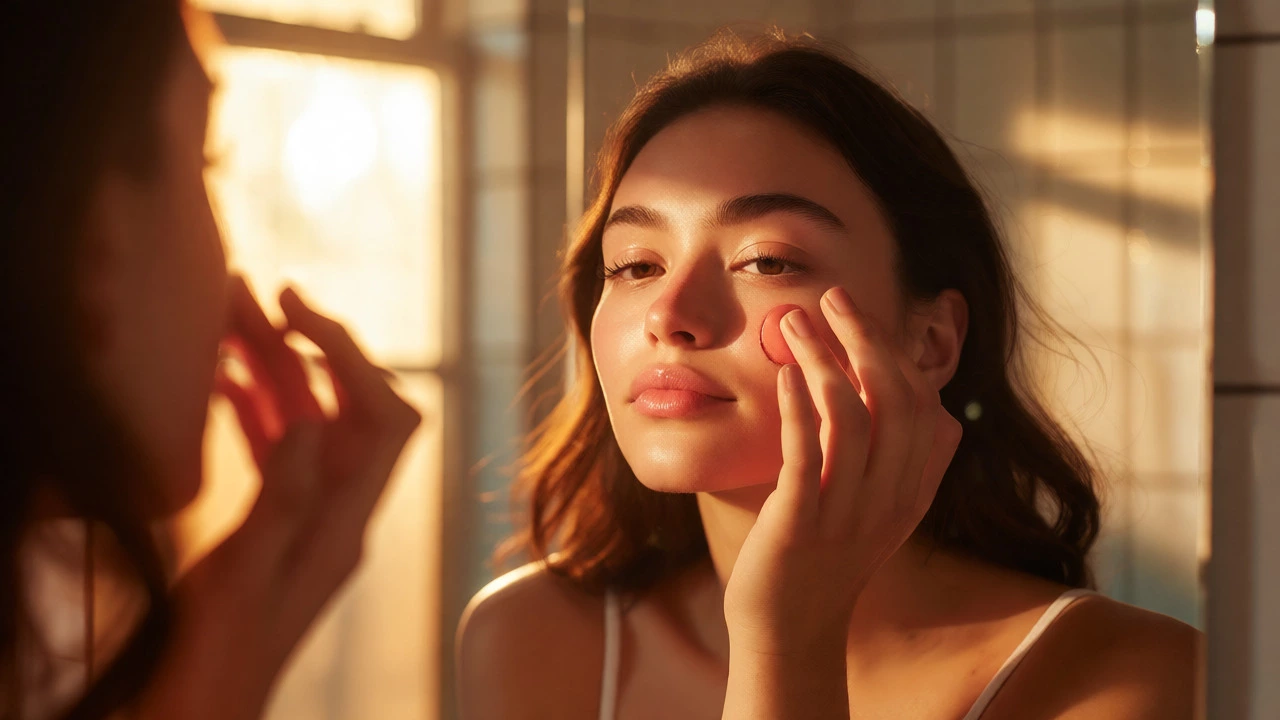
A face without color can look flat or tired. Blush restores vitality. Powder blush is easier to control for beginners because you can build up intensity gradually. Choose a shade that mimics how your cheeks naturally flush when you exercise. For fair skin, try pink or peach; for medium skin, coral or berry; for deep skin tones, rich plums or oranges.
Here is a pro tip: buy a cream blush. Why? Because you can dab it on your lips too. This ensures your cheek and lip colors coordinate perfectly, saving you space in your bag and money in your wallet. A lip tint or a sheer lipstick in a "your lips but better" shade completes the look. Avoid bold reds or nudes that clash with your undertone until you are comfortable with color theory.
Setting It All in Place
The final step is ensuring your hard work lasts past lunchtime. Translucent setting powder locks in foundation and concealer, especially in oily zones like the T-zone (forehead, nose, chin). Use a fluffy brush to dust it lightly. Too much powder makes you look dry and older; less is more.
If you prefer a dewier finish, skip the powder and use a setting spray. Mist it from arm’s length to melt the powders into the skin, removing any chalky appearance. This step bridges the gap between skincare and makeup, making the result look like skin, not paint.
Comparison: Basic vs. Advanced Kits
To clarify what belongs in a starter kit versus what can wait, here is a breakdown of essential versus optional items.
| Category | Basic Kit (Must-Have) | Advanced Kit (Optional) | Why It Matters |
|---|---|---|---|
| Base | Tinted Moisturizer or Light Foundation | Full Coverage Foundation, Color Correctors | Lighter bases are forgiving and faster to apply. |
| Cheeks | Cream Blush (multi-use) | Contour Palette, Highlighter, Bronzer | Cream blends easily with fingers; powders require brushes. |
| Eyes | Mascara, Brow Gel, One Neutral Shadow | Eyeliner, False Lashes, Multi-color Palettes | Mascara defines eyes; liner requires steady hands. |
| Lips | Lip Balm or Sheer Tint | Matte Lipstick, Lip Liner, Gloss | Balms keep lips healthy; matte formulas dry them out. |
| Tools | Beauty Blender, Fingers | Set of 5+ Brushes, Eyelash Curler | Fingers provide warmth for blending; brushes need cleaning. |
Common Pitfalls for Beginners
Even with the right products, technique errors happen. The biggest mistake is applying too much product. Makeup should enhance, not mask. Start with a tiny amount-you can always add more, but you can’t take it away without starting over.
Another common issue is ignoring lighting. Applying makeup in dim bathroom light often leads to over-application because you can’t see true colors. Always check your face in natural daylight before leaving the house. If you see orange patches or harsh lines, blend them out immediately.
Finally, hygiene matters. If you use a sponge, wash it weekly. Dirty sponges harbor bacteria that cause breakouts, defeating the purpose of wearing makeup to cover them up. Keep your kit clean, and your skin will thank you.
Frequently Asked Questions
Do I really need a primer?
Not necessarily. Primer is useful if you have oily skin, large pores, or if your makeup tends to slide off during the day. If your skin is normal or dry and your makeup stays put, you can skip it to save time and money. Focus on a good moisturizer instead.
How many makeup brushes do I need for a basic kit?
You can get by with zero brushes if you use your fingers and a damp beauty sponge. However, if you prefer brushes, start with just two: a dense buffing brush for foundation and a fluffy brush for blush/powder. Most other tasks, like eyeshadow and concealer, can be done with fingers or disposable wands.
What is the difference between bronzer and contour?
Bronzer adds warmth and sun-kissed glow, usually applied where the sun hits your face (forehead, nose, cheeks). Contour creates shadows to define bone structure, using cool-toned browns. For a basic kit, skip contour-it’s difficult to master-and stick to bronzer for a fresh, healthy look.
Can I use the same product for cheeks and lips?
Yes, absolutely. Cream blushes and multi-sticks are designed for this exact purpose. They streamline your routine and ensure color harmony. Just make sure the formula is safe for both facial skin and lips, which most reputable brands specify on the packaging.
How long does a basic makeup kit last?
It depends on usage frequency and product type. Mascara expires after 3-6 months due to bacterial growth. Liquid foundations and concealers typically last 12-18 months. Powders and pencils can last 2 years or more. Check the Period After Opening (PAO) symbol on your containers for specific guidance.
Next Steps
Ready to build your kit? Start by assessing your skin type. Do you get shiny by noon? Look for oil-free foundations and setting powder. Do you feel tight and flaky? Prioritize hydrating creams and dewy finishes. Once you know your skin’s needs, pick one product from each category listed above. Don’t buy everything at once. Master the application of one item before adding the next. This approach builds confidence and prevents overwhelm.