Foundation Basics: Pick, Apply, and Rock Flawless Skin
If you’ve ever stared at a shelf full of foundations and felt lost, you’re not alone. The right base can transform a look, but the wrong one leaves you looking cakey or uneven. Below you’ll get straight‑to‑the‑point advice on finding the perfect shade, texture, and finish, plus a simple step‑by‑step routine you can start using today.
Find Your Match in Seconds
Start with your undertone – is it cool, warm, or neutral? A quick test is to look at the veins on the inside of your wrist. Blue or purple veins suggest a cool tone, green veins point to warm, and a mix means neutral. Once you know that, test three shades: one that matches your skin, one a shade lighter, and one a shade darker. Swipe them on the jawline and blend. The shade that disappears into your skin is the winner.
Don’t forget lighting. Natural daylight is best, because indoor bulbs can trick you. If a shade looks perfect in the store but looks off at home, it probably isn’t the right one.
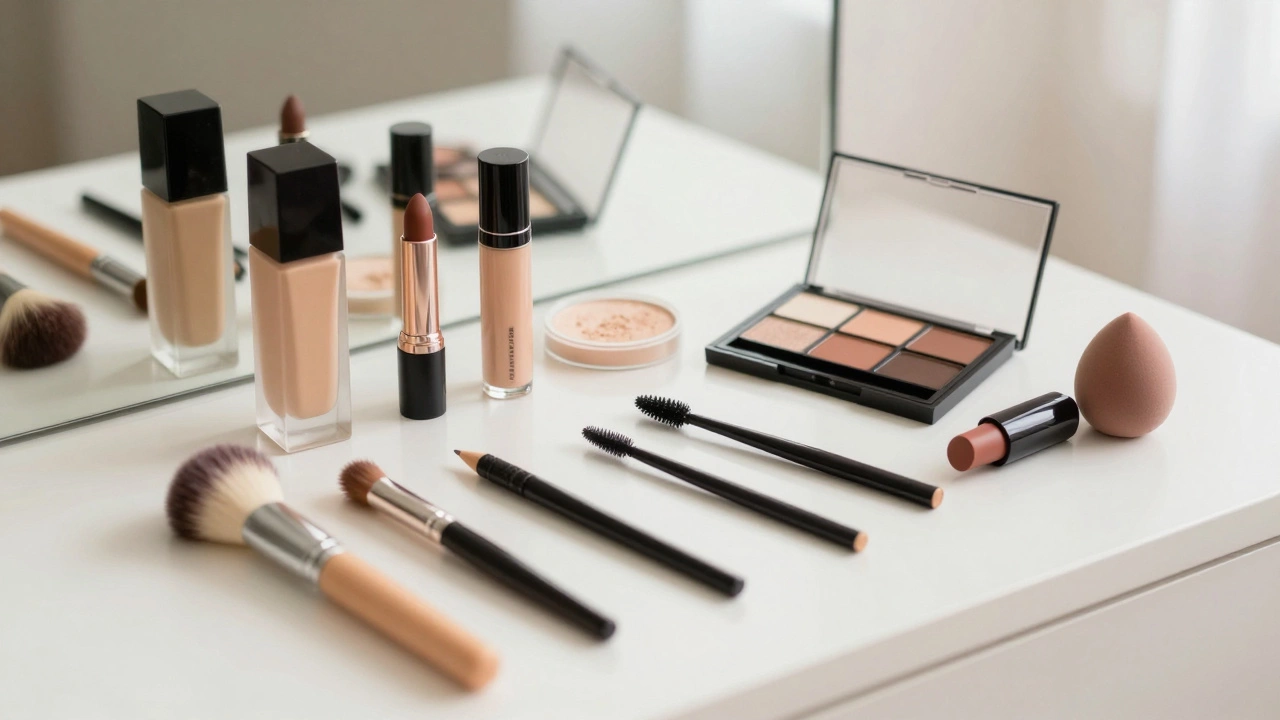
Texture & Finish – What Works for You?
Liquid foundations are great for most skin types. They blend easily and can be built up for full coverage. Powder formulas work well for oily skin or for a quick, breathable finish. Creams sit somewhere in between – they’re rich, so they hydrate dry skin but can feel heavy if you apply too much.
Finish matters too. Matte hides shine and is a top pick for oily zones, while dewy finishes add glow and suit dry or mature skin. If you’re not sure, try a satin finish – it balances shine and control.
Now that you know your shade, texture, and finish, let’s talk application. A good routine takes less than five minutes and gives a smooth canvas for the rest of your makeup.
Step‑by‑Step Application
1. Prep the skin. Cleanse, tone, and moisturize. Even the best foundation can look patchy on dry skin.
2. Prime (optional). If you have large pores or want extra longevity, a light primer helps the foundation stick.
3. Dot and blend. Pump a pea‑size amount onto the back of your hand. Dot it on the forehead, cheeks, nose, and chin. Use a damp beauty sponge for a natural finish or a brush for fuller coverage. Blend outward in gentle tapping motions – no harsh rubbing.
4. Build coverage. If you need more coverage, add another thin layer. It’s easier to build up than to tone down a heavy layer.
5. Set the base. Lightly dust translucent powder on areas that tend to get oily, like the T‑zone. This locks the foundation in place without a heavy look.
That’s it – a quick routine that gives you a clean, even canvas for any style, whether you’re going for a natural everyday look or a glam night out.
Pro makeup artists often swear by a couple of extra tricks: a tiny bit of highlighter mixed into liquid foundation adds a subtle radiance, and a setting spray at the end helps the makeup last through long shoots or busy days. Experiment with these once you’re comfortable with the basics.
Remember, foundation is a tool, not a mask. Choose a shade that lets your skin breathe, apply it with a light hand, and you’ll see the difference instantly. Happy blending!
What Are the Different Makeup Products? A Simple Guide to Every Type You Need
Learn what every common makeup product does-from foundation to setting spray-and how to use them effectively. No fluff, just clear, practical info for everyday wear.

Three Everyday Cosmetic Products and How to Use Them Like a Pro
Discover three everyday cosmetic products, essential facts about their use, pro tips, and how to make each item work for every skin type or style.