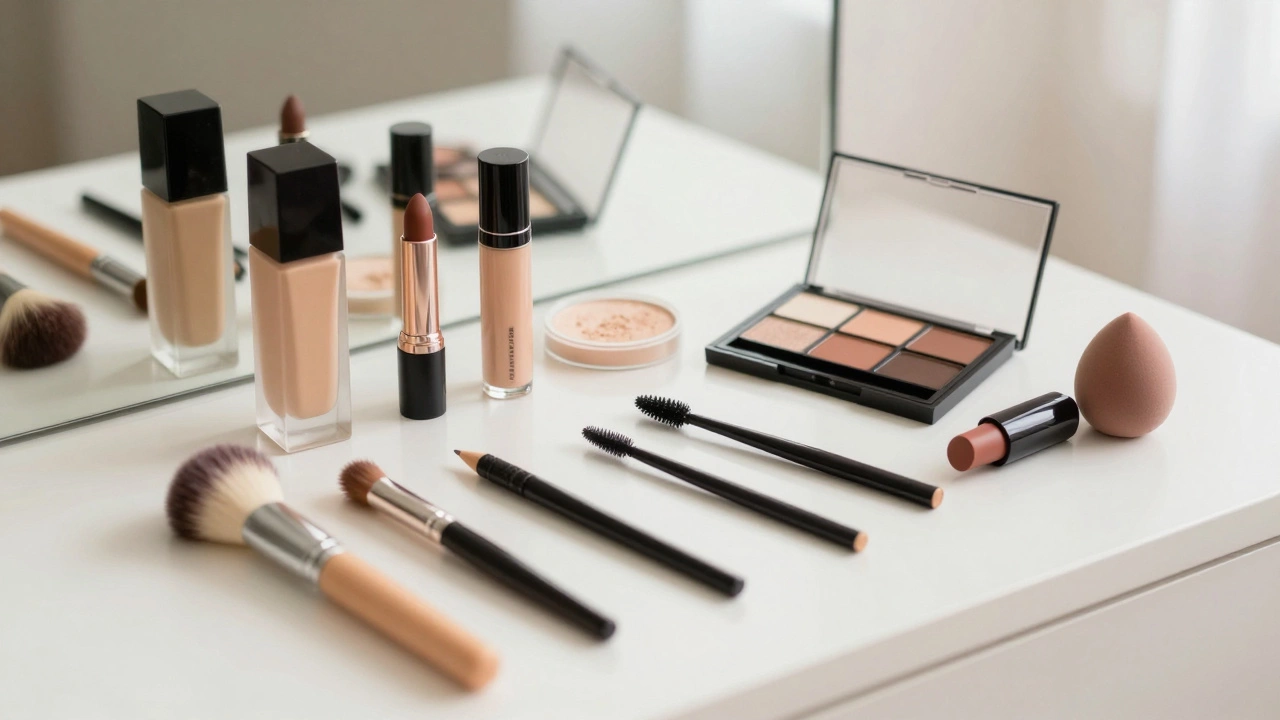
Concealer Guide: Choose, Apply & Perfect Your Look
If you’ve ever stared at a tube of concealer and wondered why it never looks right, you’re not alone. The right concealer can erase dark circles, hide blemishes, and give your skin a smooth finish, but only if you know a few basics. In this guide we’ll break down shade selection, the best formulas for different skin types, step‑by‑step application, and the pitfalls most people fall into. Grab your favorite brush or sponge and let’s get you looking flawless.
Choosing the Right Concealer Shade and Formula
First thing’s first – shade. A common mistake is picking a tone that’s too light, which can create a chalky effect, especially under the eyes. Aim for a shade that matches your foundation for blemishes, or one to two shades lighter for under‑eye brightening. If you have very fair skin, a peach‑based corrector can neutralize deep purple circles before you blend in a light concealer.
Next, think about formula. Creamy, hydrating concealers work best for dry or mature skin because they won’t settle into fine lines. For oily skin, a matte, silicone‑based formula prevents shine and lasts longer. If you’re covering stubborn acne, look for a full‑coverage, long‑wear product with salicylic acid or tea tree to help the skin heal while you hide it.
Test the product in natural light, swatching a small amount at the jawline. The color should disappear into your skin within a few seconds. If it leaves a visible line, move a shade lighter or darker until it blends seamlessly.
Application Steps for Flawless Coverage
Start with a clean, moisturized face. Moisture helps the concealer glide and prevents it from cracking. Using a small brush, dip just the tip into the product – you don’t need a lot. Dab the concealer onto the area you want to hide: under‑eye circles, a red spot, or any uneven patch.
Blend quickly. Tap the concealer with a damp beauty sponge or a fingertip, using light patting motions. Avoid rubbing, which can push the product sideways and create a halo effect. If you’re covering multiple spots, work in sections so each area gets enough blending time.
Lock the concealer in place with a translucent powder. Lightly dust the area with a fluffy brush; this sets the product and prevents creasing. For extra staying power, you can use a setting spray after powdering. The whole process should take less than two minutes, but the payoff is a natural‑looking finish that stays put all day.
Remember, less is more. A thin layer of concealer that’s well‑blended looks more polished than a thick slab that you have to blend out for hours.
Common Mistakes to Avoid
Applying concealer before foundation can create a heavy look, while using too much product makes it hard to blend. Also, using a shade that’s too dark or too light results in a “mask” effect. Finally, skipping the setting powder invites shine and creasing, especially around the eyes.
Pro Tips from the Academy
Our instructors swear by a two‑tone under‑eye technique: a peach corrector for deep circles, followed by a light‑reflecting concealer. For spot‑treatment, use a tiny brush and a dab‑and‑tap motion to keep the coverage precise. And always finish with a quick press of a cool spoon or chilled makeup roller – it sets the product and reduces puffiness.
With the right shade, formula, and a simple application routine, concealer becomes your secret weapon for a smooth, radiant complexion. Try these steps next time you prep your makeup, and notice the difference instantly.
What Are the Different Makeup Products? A Simple Guide to Every Type You Need
Learn what every common makeup product does-from foundation to setting spray-and how to use them effectively. No fluff, just clear, practical info for everyday wear.

Mastering Makeup: Should Concealer Go Over or Under Foundation?
Choosing between applying concealer before or after foundation can make a significant difference in achieving a flawless finish. This guide explores the benefits and drawbacks of each method, providing practical advice and unique techniques for both beginners and makeup enthusiasts. Discover insightful tips to enhance your makeup routine and create a natural-looking complexion.