
How to Do Basic Makeup for Beginners: A Simple Step-by-Step Guide
 Aug, 13 2026
Beginner Makeup Routine Checklist & Timer
Timer
Goal: 5-10 minutes
Looking in the mirror and feeling overwhelmed by a shelf full of colorful tubes, powders, and brushes is a universal experience. You want to look polished, but you don’t want to spend an hour blending contour lines or figuring out which shade of concealer matches your skin tone perfectly. The good news? You don’t need to be a professional artist to achieve a fresh, natural look. In fact, the best basic makeup routines are designed to enhance your features without masking them.
This guide cuts through the noise. We will skip the complex techniques and focus on the essentials that actually make a difference. Whether you have five minutes before work or want to feel put-together for a casual coffee date, these steps will help you build confidence with minimal effort.
The Golden Rule: Skincare First
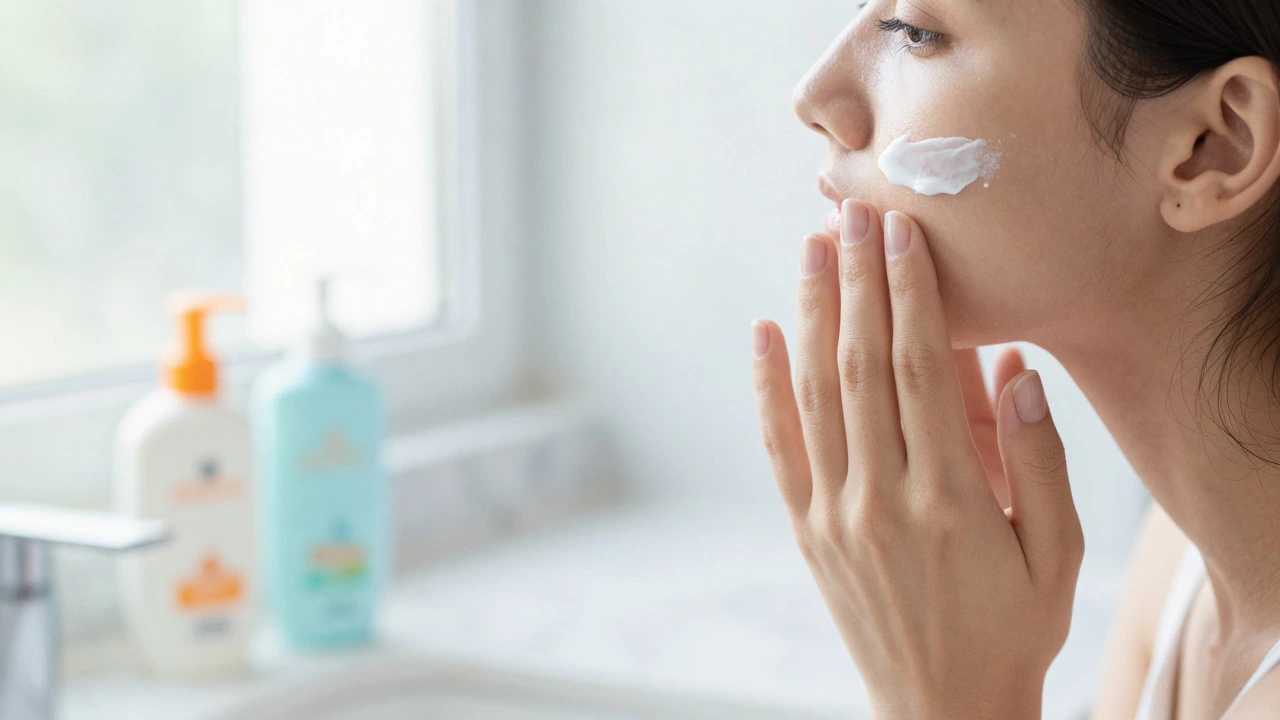
Before you even touch a makeup product, you need to address your canvas. Makeup sits on top of your skin, so if your skin is dry, flaky, or oily, your makeup will reflect that. Think of skincare as the foundation-pun intended-of your entire look.
Start with a clean face. Use a gentle cleanser suitable for your skin type. If you have dry skin, follow up with a hydrating moisturizer. If you’re oily, choose a lightweight, oil-free formula. Let it sink in for at least two minutes. This waiting period is crucial; applying makeup over wet moisturizer causes pilling and sliding throughout the day.
Next, apply sunscreen. This is non-negotiable. Sun damage ages skin faster than anything else, and most foundations offer insufficient protection. Look for a broad-spectrum SPF 30 or higher. Wait another minute for this to set. Your skin should feel hydrated but not slick. If it’s too shiny, blot gently with a tissue. This prep work ensures your makeup lasts longer and looks smoother.
Step 1: Even Out Your Skin Tone
The goal here isn’t to cover every blemish or dark spot completely. It’s to create an even base so your skin looks healthy and rested. For beginners, I recommend starting with a tinted moisturizer or a light-coverage foundation rather than a heavy, full-coverage product. Heavy foundations can look cakey and mask your natural texture, which often feels uncomfortable to wear.
Choose a shade that matches your jawline, not just your cheek or forehead. Lighting in stores can be deceptive, so test products in natural daylight if possible. Apply the product using your fingers, a damp beauty sponge, or a dense brush. Fingers provide warmth that helps blend the product seamlessly into the skin. Start from the center of your face-your nose, chin, and forehead-and blend outward toward your hairline. This prevents harsh lines around the edges of your face.
If you have specific redness or dark circles, use a small amount of concealer only where needed. Dab it on with your ring finger (the weakest finger, which applies the least pressure) and tap gently until it blends. Avoid dragging the product, as this removes the coverage underneath. Less is more. You can always add more, but removing excess without ruining the base is difficult.
Step 2: Add Warmth and Dimension
Once your base is set, you might notice your face looks a bit flat. This is normal because foundation evens out color variations. To bring life back to your complexion, use blush and bronzer. These products mimic the natural flush and warmth your body produces.
Bronzer adds warmth. Apply it to areas where the sun naturally hits your face: the high points of your cheekbones, the bridge of your nose, and your forehead. Use a fluffy brush and sweep in circular motions. Keep it subtle. You want to look like you’ve been outside for a walk, not like you’re wearing a mask.
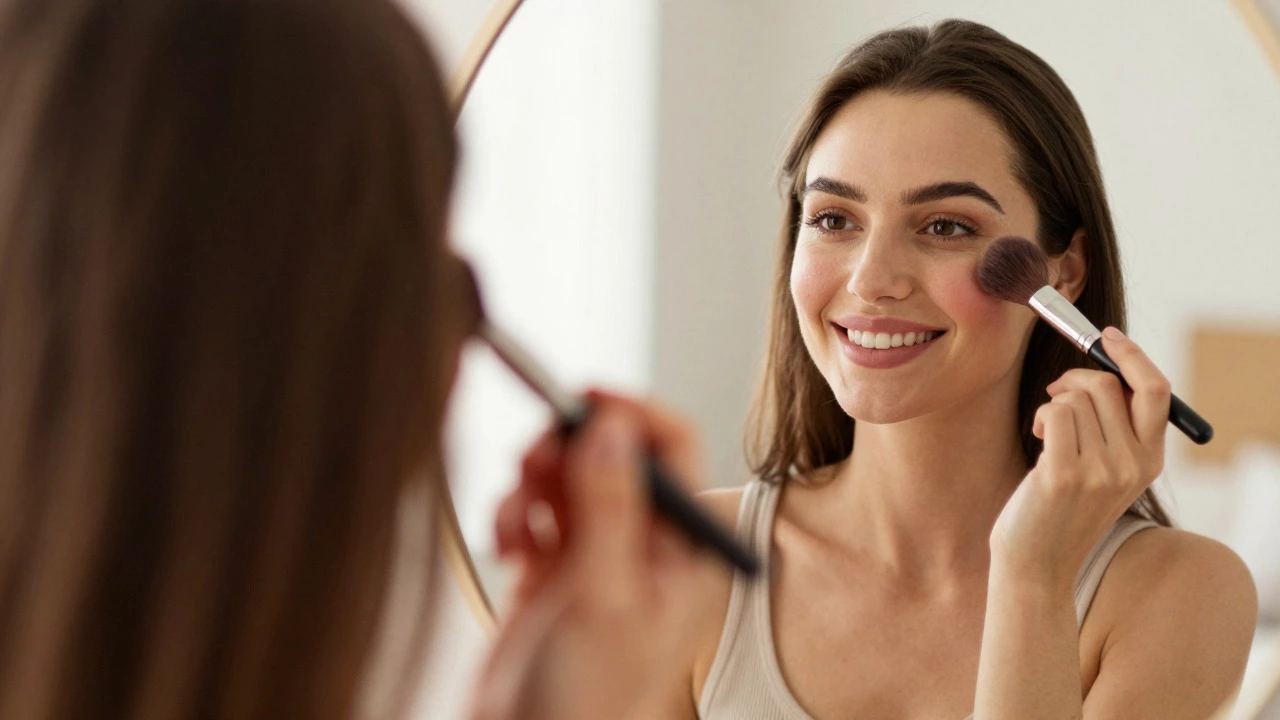
Blush adds color. Smile slightly to locate the apples of your cheeks, then sweep the blush upward toward your temples. This lifts the face visually. Choose shades that complement your undertone. Cool undertones look great in pinks and berries, while warm undertones shine with peaches and corals. Neutral tones can pull off almost any shade. Remember, blush is one of the few products where you can go a little heavier without looking unnatural. It brings energy to your face.
Step 3: Define Your Eyes Simply
Eyes are often the focal point of the face, but they don’t require a complicated eyeshadow palette. For a basic routine, focus on lashes and brows. Well-groomed eyebrows frame your face, and defined lashes open up your eyes.
Start with your brows. Brush them upward with a spoolie brush. If you have sparse areas, use a brow pencil or powder to fill them in with light, hair-like strokes. Follow your natural shape; avoid creating harsh lines or overly arched shapes unless that’s your usual style. Set them with a clear brow gel to keep them in place all day.
For the eyelids, you can skip eyeshadow entirely or use a single neutral shade applied lightly across the lid. The real impact comes from mascara. Curl your lashes first with an eyelash curler. Hold the curler at the base of your lashes for five seconds, then wiggle it slightly as you release. This creates a lift that makes your eyes appear larger and more awake.
Apply mascara from the roots to the tips, wiggling the wand side-to-side. Focus on the upper lashes. One or two coats are usually enough. If you get clumps, let the mascara dry for a minute and then comb through with a clean spoolie. Waterproof mascara is useful if you live in a humid climate or tend to tear up easily, but regular formulas are easier to remove at the end of the day.
Step 4: Complete the Look with Lips
Your lips tie the whole look together. A bare lip can sometimes make the rest of the makeup look unfinished, especially if you’ve added color to your cheeks and eyes. However, you don’t need a bold red lipstick to achieve balance.
A tinted lip balm or a sheer lipstick in a nude or pink shade works perfectly for everyday wear. Hydration is key here. Dry, chapped lips draw attention for the wrong reasons. Exfoliate your lips gently with a sugar scrub once a week to remove dead skin, and apply balm daily.
If you prefer a bit more definition, line your lips with a pencil that matches your natural lip color. This prevents bleeding and gives your lips a fuller appearance without the need for filler. Fill in the lips slightly with the liner, then apply your gloss or lipstick over the top. This technique also helps the color last longer.
Essential Tools and Products Checklist
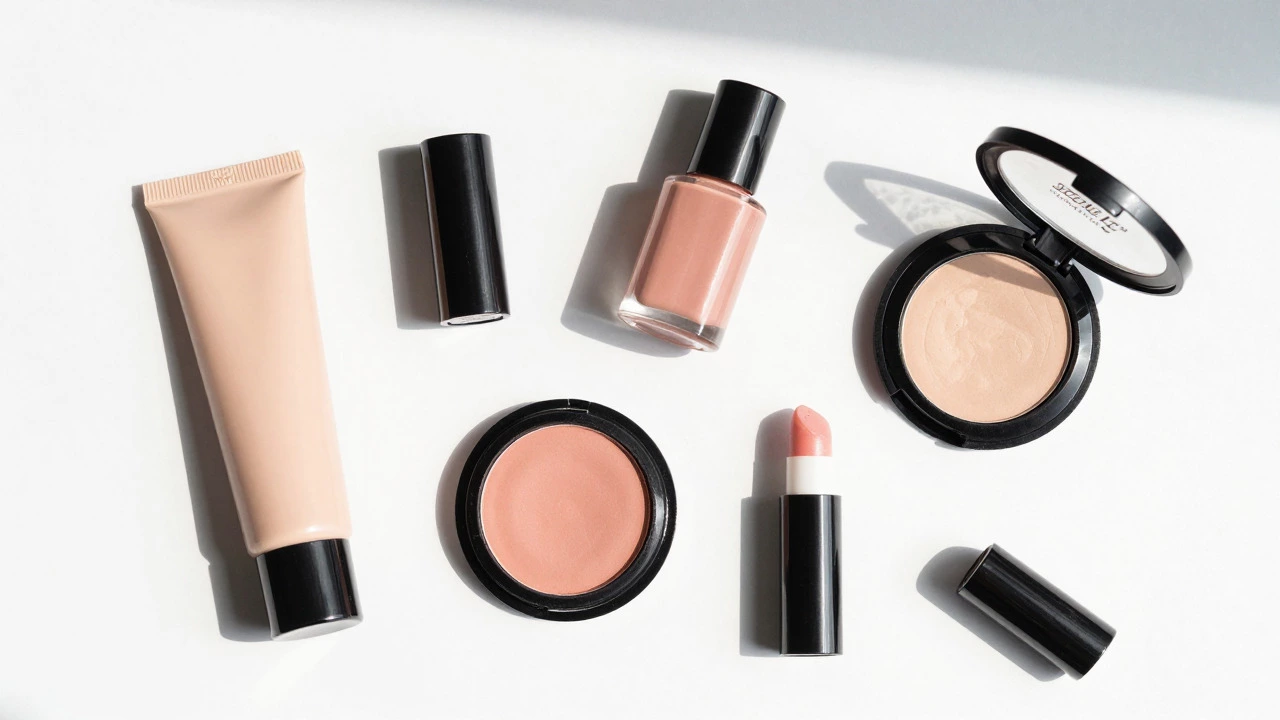
You don’t need a vanity table filled with fifty items. Here is a minimal kit that covers all the bases discussed above:
- Cleanser and Moisturizer: Suitable for your skin type.
- Sunscreen: Broad-spectrum SPF 30+.
- Tinted Moisturizer or Light Foundation: One shade that matches your neck.
- Concealer: For spot treatment under eyes or on blemishes.
- Blush: Cream or powder, in a shade that suits your undertone.
- Bronzer: Powder form is easiest for beginners to control.
- Mascara: Black or brown, depending on your lash color.
- Brow Pencil/Gel: To define and set eyebrows.
- Lip Balm/Tint: For hydration and subtle color.
- Basic Brushes: One fluffy brush for powder/bronzer, one smaller brush for blush, and a spoolie for brows/lashes.
Common Mistakes to Avoid
Even with the right products, technique matters. Here are a few pitfalls that trip up many beginners:
Applying Too Much Product: It’s tempting to think more coverage equals better results. In reality, layering too much foundation or blush creates a heavy, unnatural look. Start with a small amount and build up gradually if needed.
Ignoring Neck Color: Your face and neck should match. If there’s a visible line of demarcation at your jawline, your foundation shade is likely too light or too dark. Blend down onto your neck to ensure a seamless transition.
Skippping Setting: If you have oily skin, your makeup might slide off within hours. A light dusting of translucent setting powder on your T-zone (forehead, nose, chin) can absorb excess oil and lock everything in place. Don’t overdo it, or your skin will look dusty.
Using Expired Products: Makeup doesn’t last forever. Mascara should be replaced every three months to prevent eye infections. Foundations and concealers typically last six to twelve months. Check expiration dates and replace items when they change smell or texture.
Adapting to Different Occasions
This basic routine is versatile. For a workday, keep the colors muted and the finish matte or satin. For a night out, you can intensify the blush, add a second coat of mascara, and switch to a deeper lip color. The structure remains the same, but the intensity changes based on your needs.
Practice makes perfect. Try this routine at home when you have time. Experiment with different shades and tools to see what feels comfortable for you. Makeup is personal. There’s no single “right” way to do it, only what makes you feel confident and authentic.
What is the simplest makeup routine for absolute beginners?
The simplest routine involves skincare prep (cleanser, moisturizer, sunscreen), followed by a tinted moisturizer for even tone, a swipe of mascara for eyes, and a tinted lip balm. This takes about five minutes and provides a polished look without complex techniques.
Do I really need primer before applying makeup?
Primer is not strictly necessary for beginners. A well-moisturized face acts as a natural primer. If you have large pores or oily skin, a primer can help makeup last longer, but for a basic routine, skipping it saves time and money without significantly affecting the result.
How do I choose the right foundation shade?
Test foundation on your jawline, not your hand or wrist. The shade should disappear into your neck. Natural daylight is the best lighting for testing. If you’re between two shades, choose the lighter one, as foundation oxidizes (darkens) slightly after application.
Can I use cream blush instead of powder?
Yes, cream blush is often easier for beginners because it blends seamlessly with the skin and looks very natural. Apply it with your fingers or a damp sponge after foundation but before powder products. It gives a dewy, healthy glow.
How long does basic makeup take to apply?
With practice, a basic routine including skincare prep, foundation, blush, mascara, and lip balm should take 5 to 10 minutes. Speed increases as you become familiar with your products and techniques.